
Do you have a WordPress website? Do you want help fixing grammar and style on the go as you create content on WordPress?
This is the right place for you.
Owning a WordPress website is similar to having a vast kingdom of online creation. Whether you are a leisure blogger or a professional, managing a website can be challenging.
Ensuring that your content is error-free and engaging requires much effort amidst the hustle and bustle of website management.
This is where you need a trustworthy writing assistant to help you on your tough days and make your work feel much less daunting.
Here is the easiest guide on how to use Grammarly for WordPress.
What is Grammarly?
For those looking for the right Grammar assistant and have come across Grammarly. This is why you should choose Grammarly for WordPress.
Grammarly is one of the best AI-assisted writing tools. You can trust me because, as a content writer, I have tested multiple similar and competing tools like Gutenberg editor or Elementor on my journey and finally settled on Grammarly for WordPress.
Grammarly has a robust spelling and grammar checker, which is why it is popularly known, but it also comes with additional features that make it worthy of praise.

It has real-time suggestions based on Goals that you can customize to set a tone and voice for your work. As a standalone app, an interactive suggestion bar lists all corrections as you write.
As a WordPress plugin, you get a Grammarly icon on the page that shows the number of pending suggestions you can click to display.
I especially like this feature as it kept the working environment of my WordPress website clear and cluttered, and with a few clicks, all my mistakes were automatically corrected.

Not only do you improve the correctness and clarity of your content, but you can also drastically improve WordPress content with Grammarly with features like a plagiarism checker and Generative AI to help you improve, rephrase, lengthen, and even shorten your writing.
There are basic differences between the Grammarly free versions and its paid plans. The free version of Grammarly still provides you with all the necessary features to create error-free content on WordPress.
With the Premium Plans, you can get additional features like a plagiarism checker and adjustable Goals.
Are you wondering about free vs. paid options for using Grammarly in WordPress?
Don’t, because you can use Grammarly with WordPress with both options.
You can check WordPress posts and pages for grammar and plagiarism with Grammarly and publish your best online.
How to Sign Up for Grammarly?
To use Grammarly with WordPress, you must first Sign Up for Grammarly. You can log in to your Grammarly account if you are a user. If not, here is a quick guide.
Step 1: Visit the Grammarly website and select Sign In.
Step 2: Create a Grammarly account by setting up your email address and password.
Step 3: Choose a Plan: You can choose between the free version, which offers basic grammar and spelling checks, or the premium options, which unlock advanced features like plagiarism detection and more.
And you are done.
Once you’ve created an account, you can access Grammarly through its web editor, desktop application, mobile app, or browser extension.
How to Install & use Grammarly with WordPress?
Now that you have created a Grammarly account, here is how to install the Grammarly browser extension for WordPress.
Step 1: Open the preferred web browser from which you use WordPress. The steps are the same for all browsers, including Google Chrome, Safari, Firefox, and so on.
Step 2: Visit the official Grammarly website and download the Grammarly extension for Chrome/Firefox/Safari.
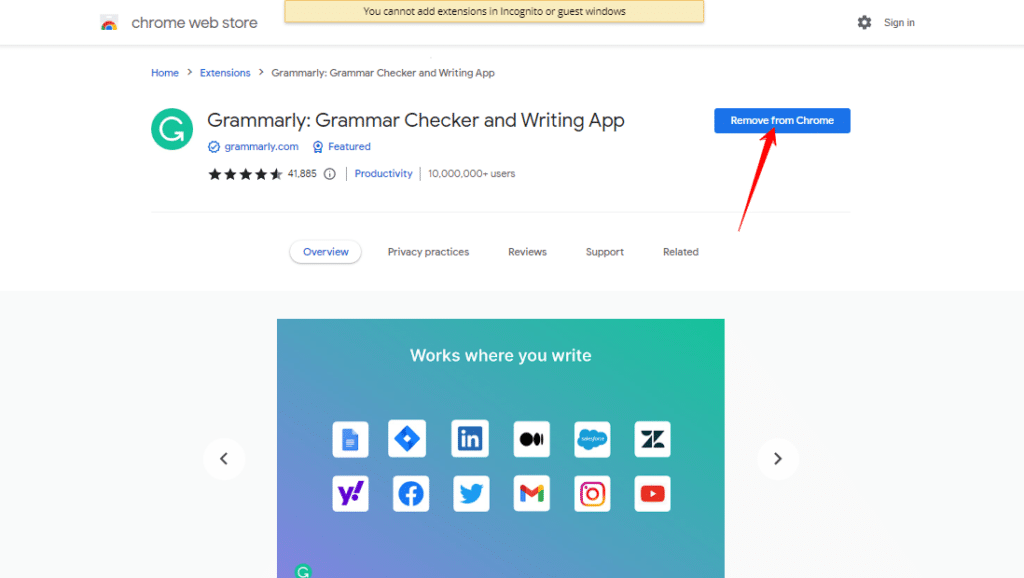
Step 3: Add Extension to Chrome- Once you have downloaded the file, a popup will appear with the option to Add Extension or Cancel. Select Add Extension, and you will see a Grammarly popup on your screen. You can also go to the Extension options on your Tab to pin Grammarly for easy access.
Thats it. It’s that simple to install Grammarly for WordPress.
To use Grammarly with WordPress, you have to do nothing more.
Once the Extension is downloaded, Grammarly will automatically be active when you use WordPress.
It will be active on any other tool you use on your browser, like emails, docs, word, etc.
And you do not even have to worry about compatibility issues as Grammarly is compatible with all.
All you have to do is review the suggestions given by Grammarly and click Accept to correct and improve your content.
However, here is a trick if you want some additional checks. It is the copy-paste method.
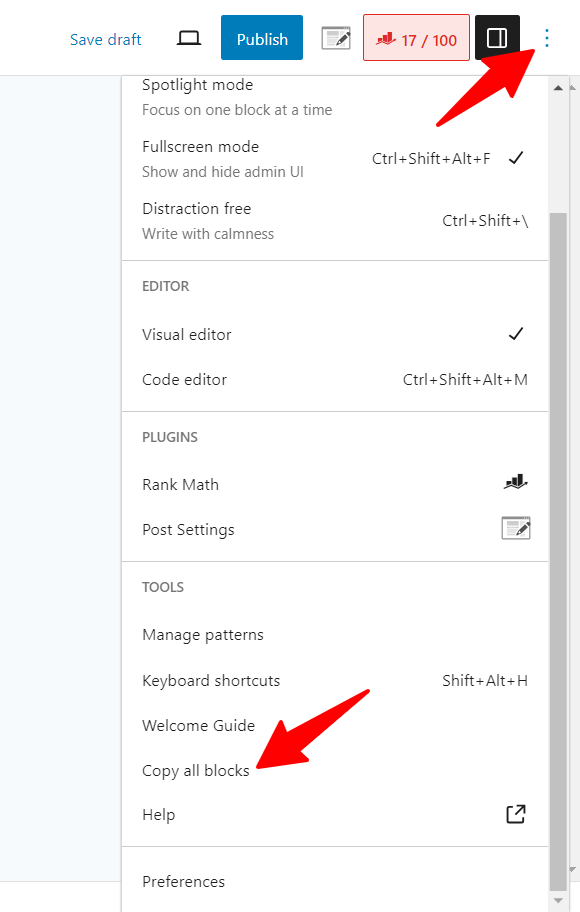
Step 1: Once you have finished writing on WordPress, go to the three-dot options menu on the top right and select Copy all Blocks
Step 2: Click on the Grammarly icon in your toolbar and select New Document.

Step 3: Paste your work, and let Grammarly run additional checks if required.
Step 4. Copy and Paste the same in WordPress, and I guarantee there will be no mistakes in your work.
Conclusion
Grammarly is a powerful tool that can handle all aspects of writing issues alone. There are alternatives to Grammarly for WordPress users, like Gutenberg editor, Elementor, and ProWritingAid so that you can try them.
But Grammarly for WordPress is relatively easy to install and use. It is also helpful to create content online that is grammatically error-free and has a consistent style and delivery.
I hope you find this Grammarly for WordPress installation guide helpful and get the most out of the Grammarly WordPress plugin as you write.
Happy Writing!
Frequently Asked Questions (FAQs)
Can I use Grammarly for WordPress?
Yes, Grammarly can be used with WordPress. Grammarly is compatible with WordPress. You must download and install the Grammarly extension to use Grammarly with WordPress.
Does Grammarly have a WordPress plugin?
Grammarly can be used as a WordPress plugin by downloading the Grammarly web browser extension from the official website and running it on your device.
How do you install the Grammrly extension?
To install Grammarly Extension: Visit Grammarly website> Select and download Grammarly for Chrome/Firefox/Safari/Edge> Install the extensiona> Follow the Popup to Add Extension to your browser.
How to download Grammarly for WordPress free?
You can download Grammarly for WordPress for free by creating a free Grammarly Account on the website, downloading the Grammarly web browser extension on your device, and using Grammarly with WordPress for free.
